Adding Links in the Navbar
Now that we have our first route set up, let’s add a couple of links to the navbar of our app. These will direct users to login or signup for our app when they first visit it.
 Replace the
 render method in src/App.js with the following.
render() {
  return (
    <div className="App container">
      <Navbar fluid collapseOnSelect>
        <Navbar.Header>
          <Navbar.Brand>
            <Link to="/">Scratch</Link>
          </Navbar.Brand>
          <Navbar.Toggle />
        </Navbar.Header>
        <Navbar.Collapse>
          <Nav pullRight>
            <NavItem href="/signup">Signup</NavItem>
            <NavItem href="/login">Login</NavItem>
          </Nav>
        </Navbar.Collapse>
      </Navbar>
      <Routes />
    </div>
  );
}
This adds two links to our navbar using the NavItem Bootstrap component. The Navbar.Collapse component ensures that on mobile devices the two links will be collapsed.
And let’s include the necessary components in the header.
 Replace the
 react-router-dom and react-bootstrap import in src/App.js with this.
import { Link } from "react-router-dom";
import { Nav, Navbar, NavItem } from "react-bootstrap";
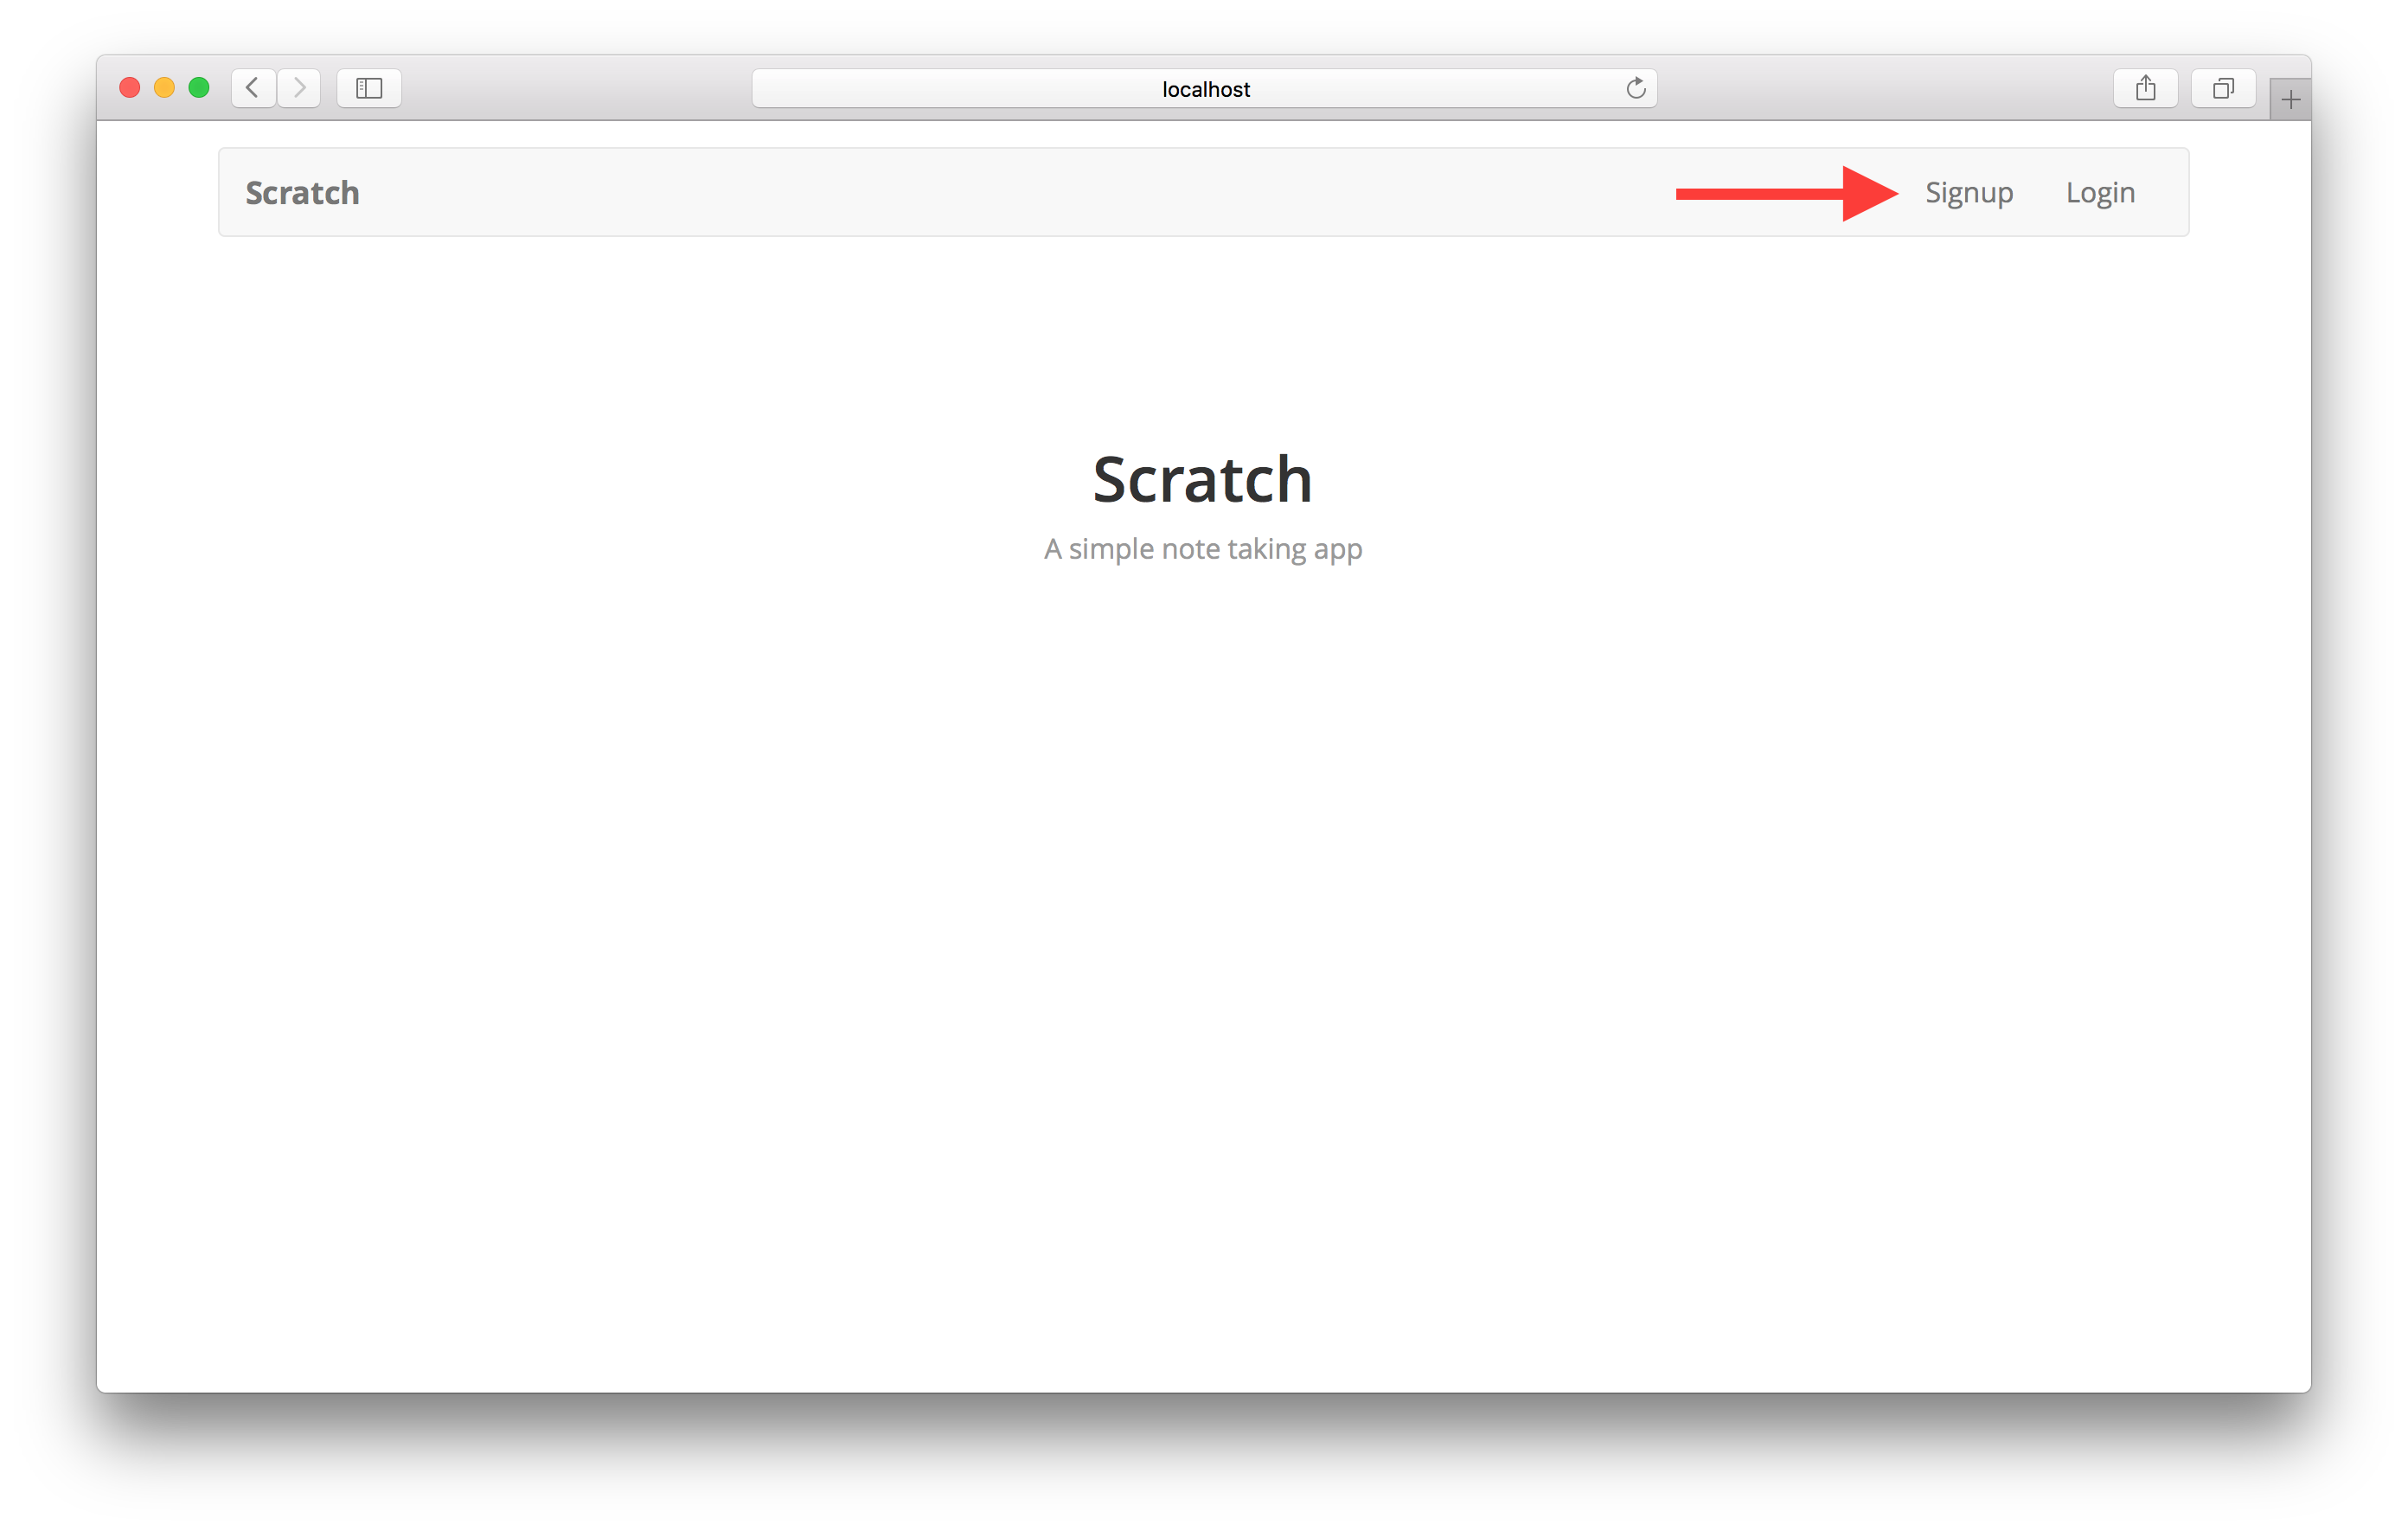
Now if you flip over to your browser, you should see the two links in our navbar.

Unfortunately, when you click on them they refresh your browser while redirecting to the link. We need it to route it to the new link without refreshing the page since we are building a single page app.
To fix this we need a component that works with React Router and React Bootstrap called React Router Bootstrap. It can wrap around your Navbar links and use the React Router to route your app to the required link without refreshing the browser.
 Run the following command in your working directory.
$ npm install react-router-bootstrap --save
 And include it at the top of your
 src/App.js.
import { LinkContainer } from "react-router-bootstrap";
 We will now wrap our links with the
 LinkContainer. Replace the render method in your src/App.js with this.
render() {
  return (
    <div className="App container">
      <Navbar fluid collapseOnSelect>
        <Navbar.Header>
          <Navbar.Brand>
            <Link to="/">Scratch</Link>
          </Navbar.Brand>
          <Navbar.Toggle />
        </Navbar.Header>
        <Navbar.Collapse>
          <Nav pullRight>
            <LinkContainer to="/signup">
              <NavItem>Signup</NavItem>
            </LinkContainer>
            <LinkContainer to="/login">
              <NavItem>Login</NavItem>
            </LinkContainer>
          </Nav>
        </Navbar.Collapse>
      </Navbar>
      <Routes />
    </div>
  );
}
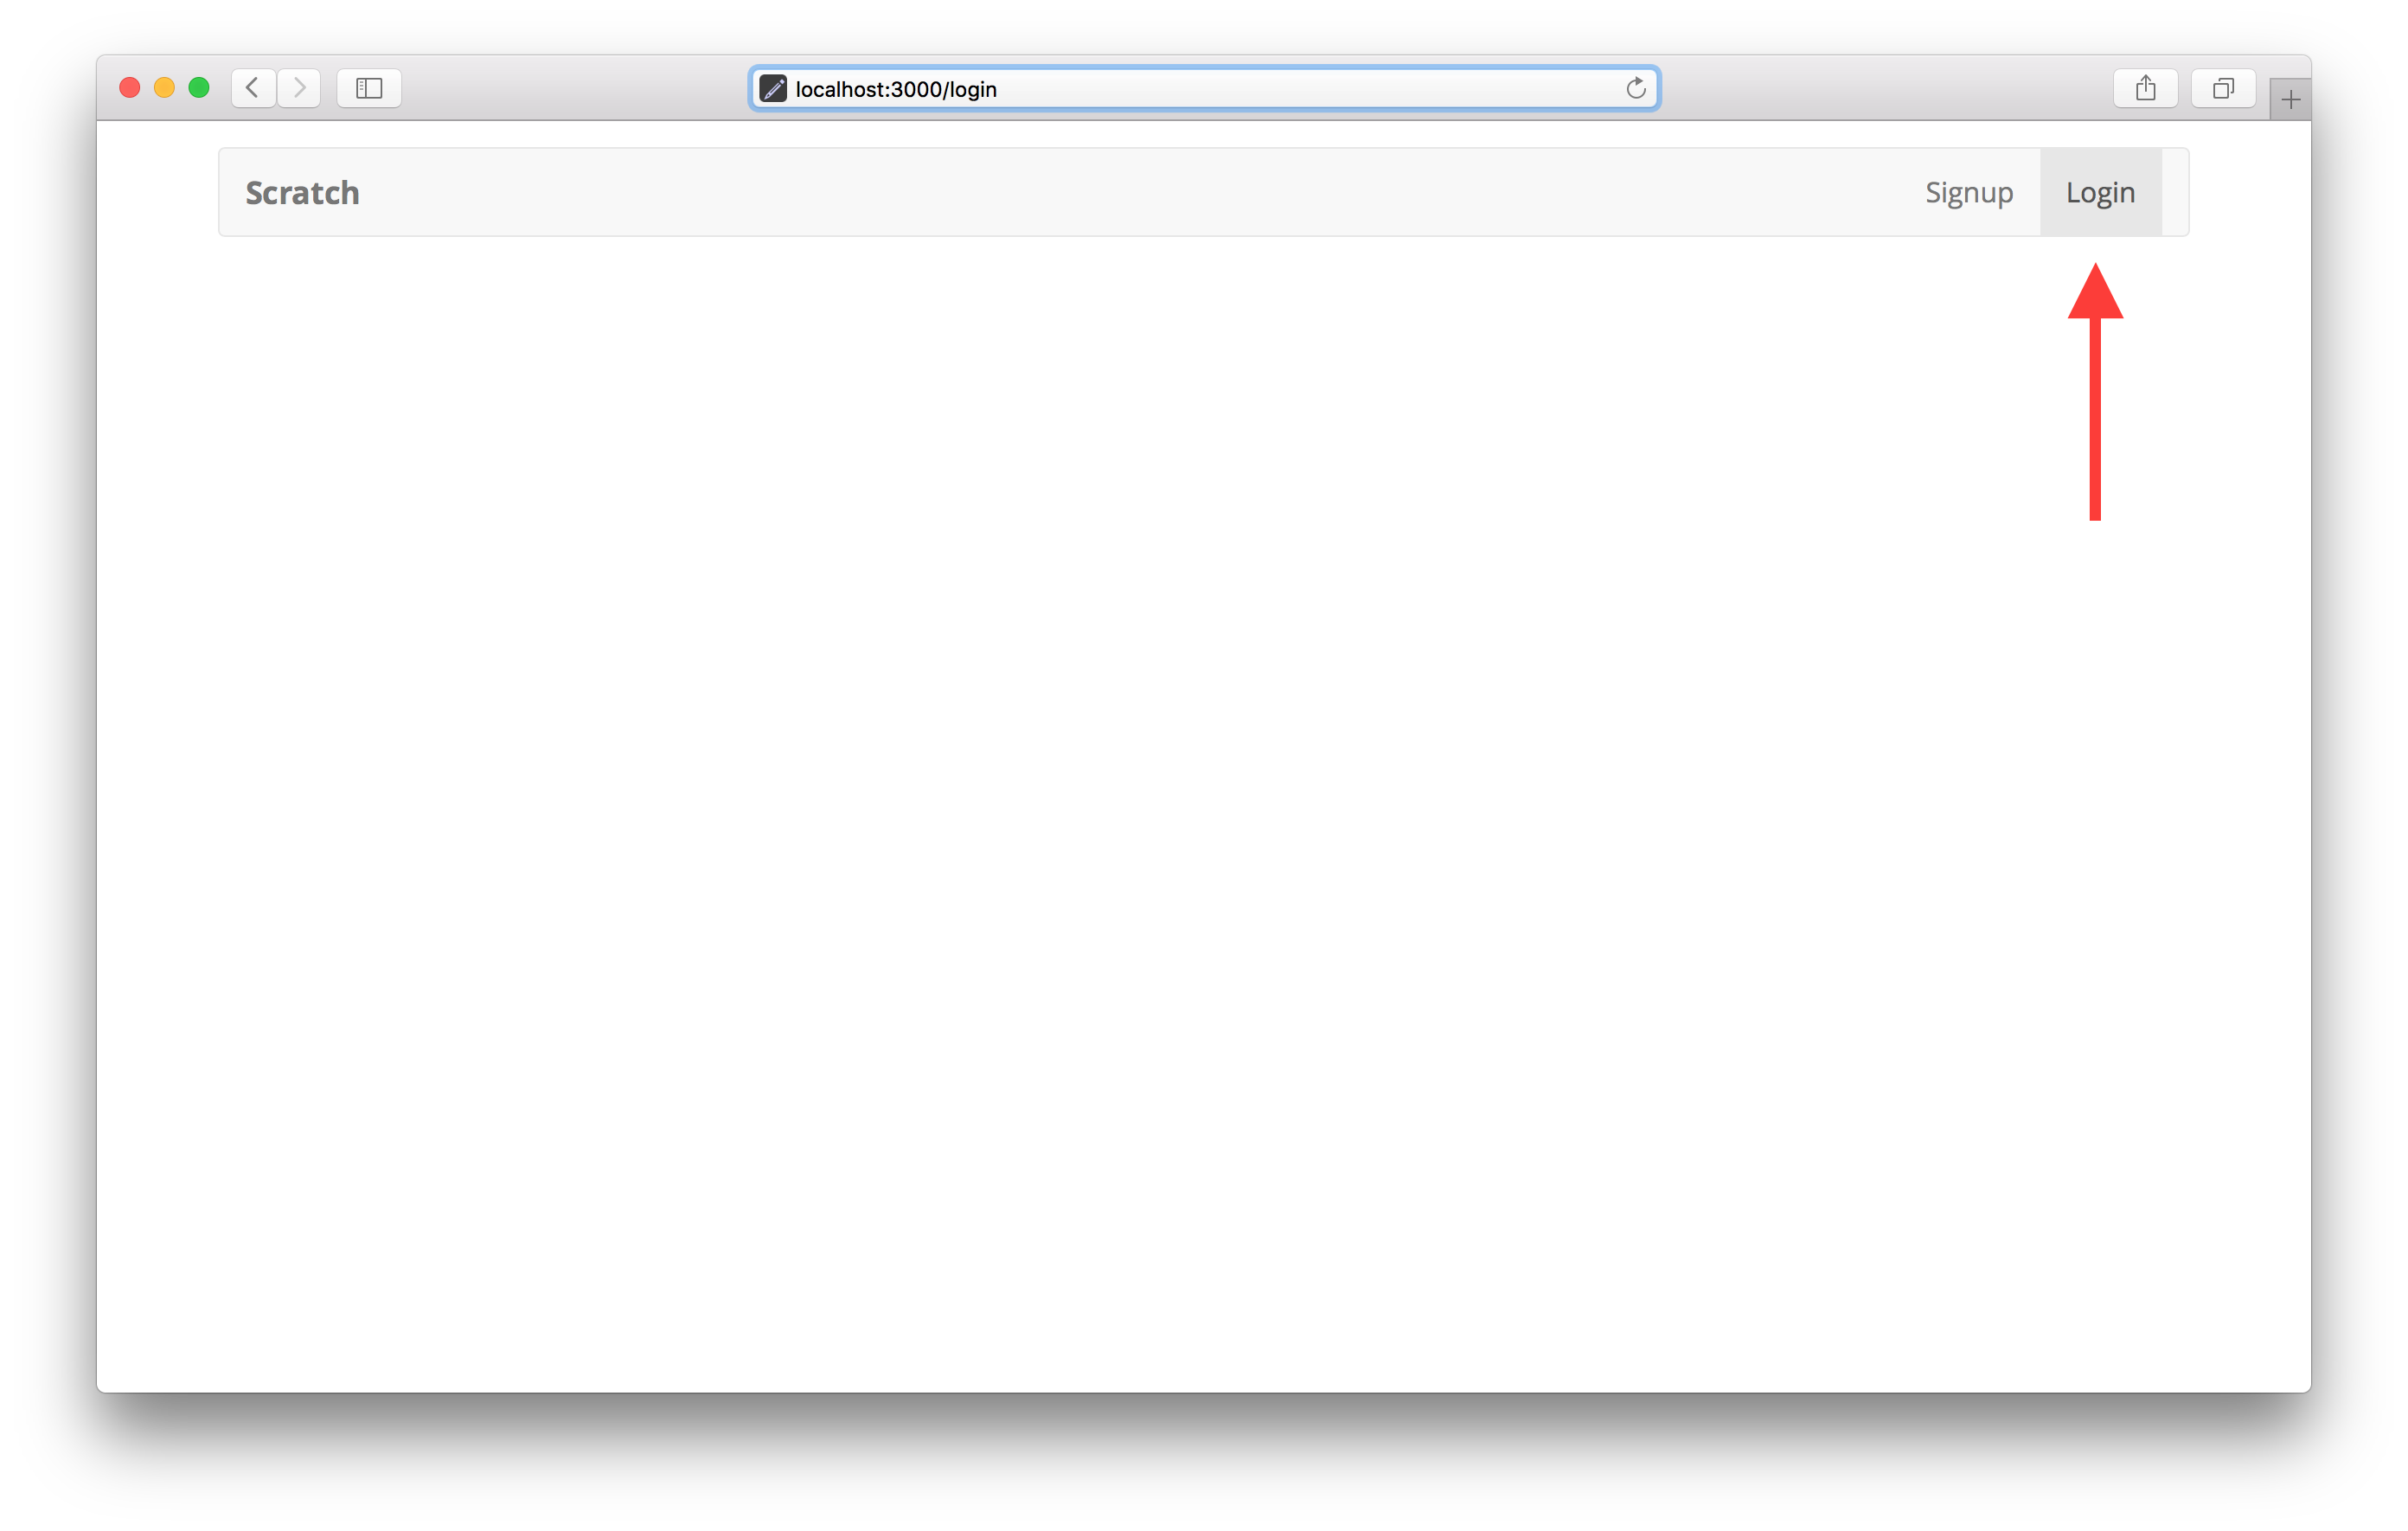
And that’s it! Now if you flip over to your browser and click on the login link, you should see the link highlighted in the navbar. Also, it doesn’t refresh the page while redirecting.

You’ll notice that we are not rendering anything on the page because we don’t have a login page currently. We should handle the case when a requested page is not found.
Next let’s look at how to tackle handling 404s with our router.
For help and discussion
Comments on this chapterIf you liked this post, please subscribe to our newsletter, give us a star on GitHub, and follow us on Twitter.
